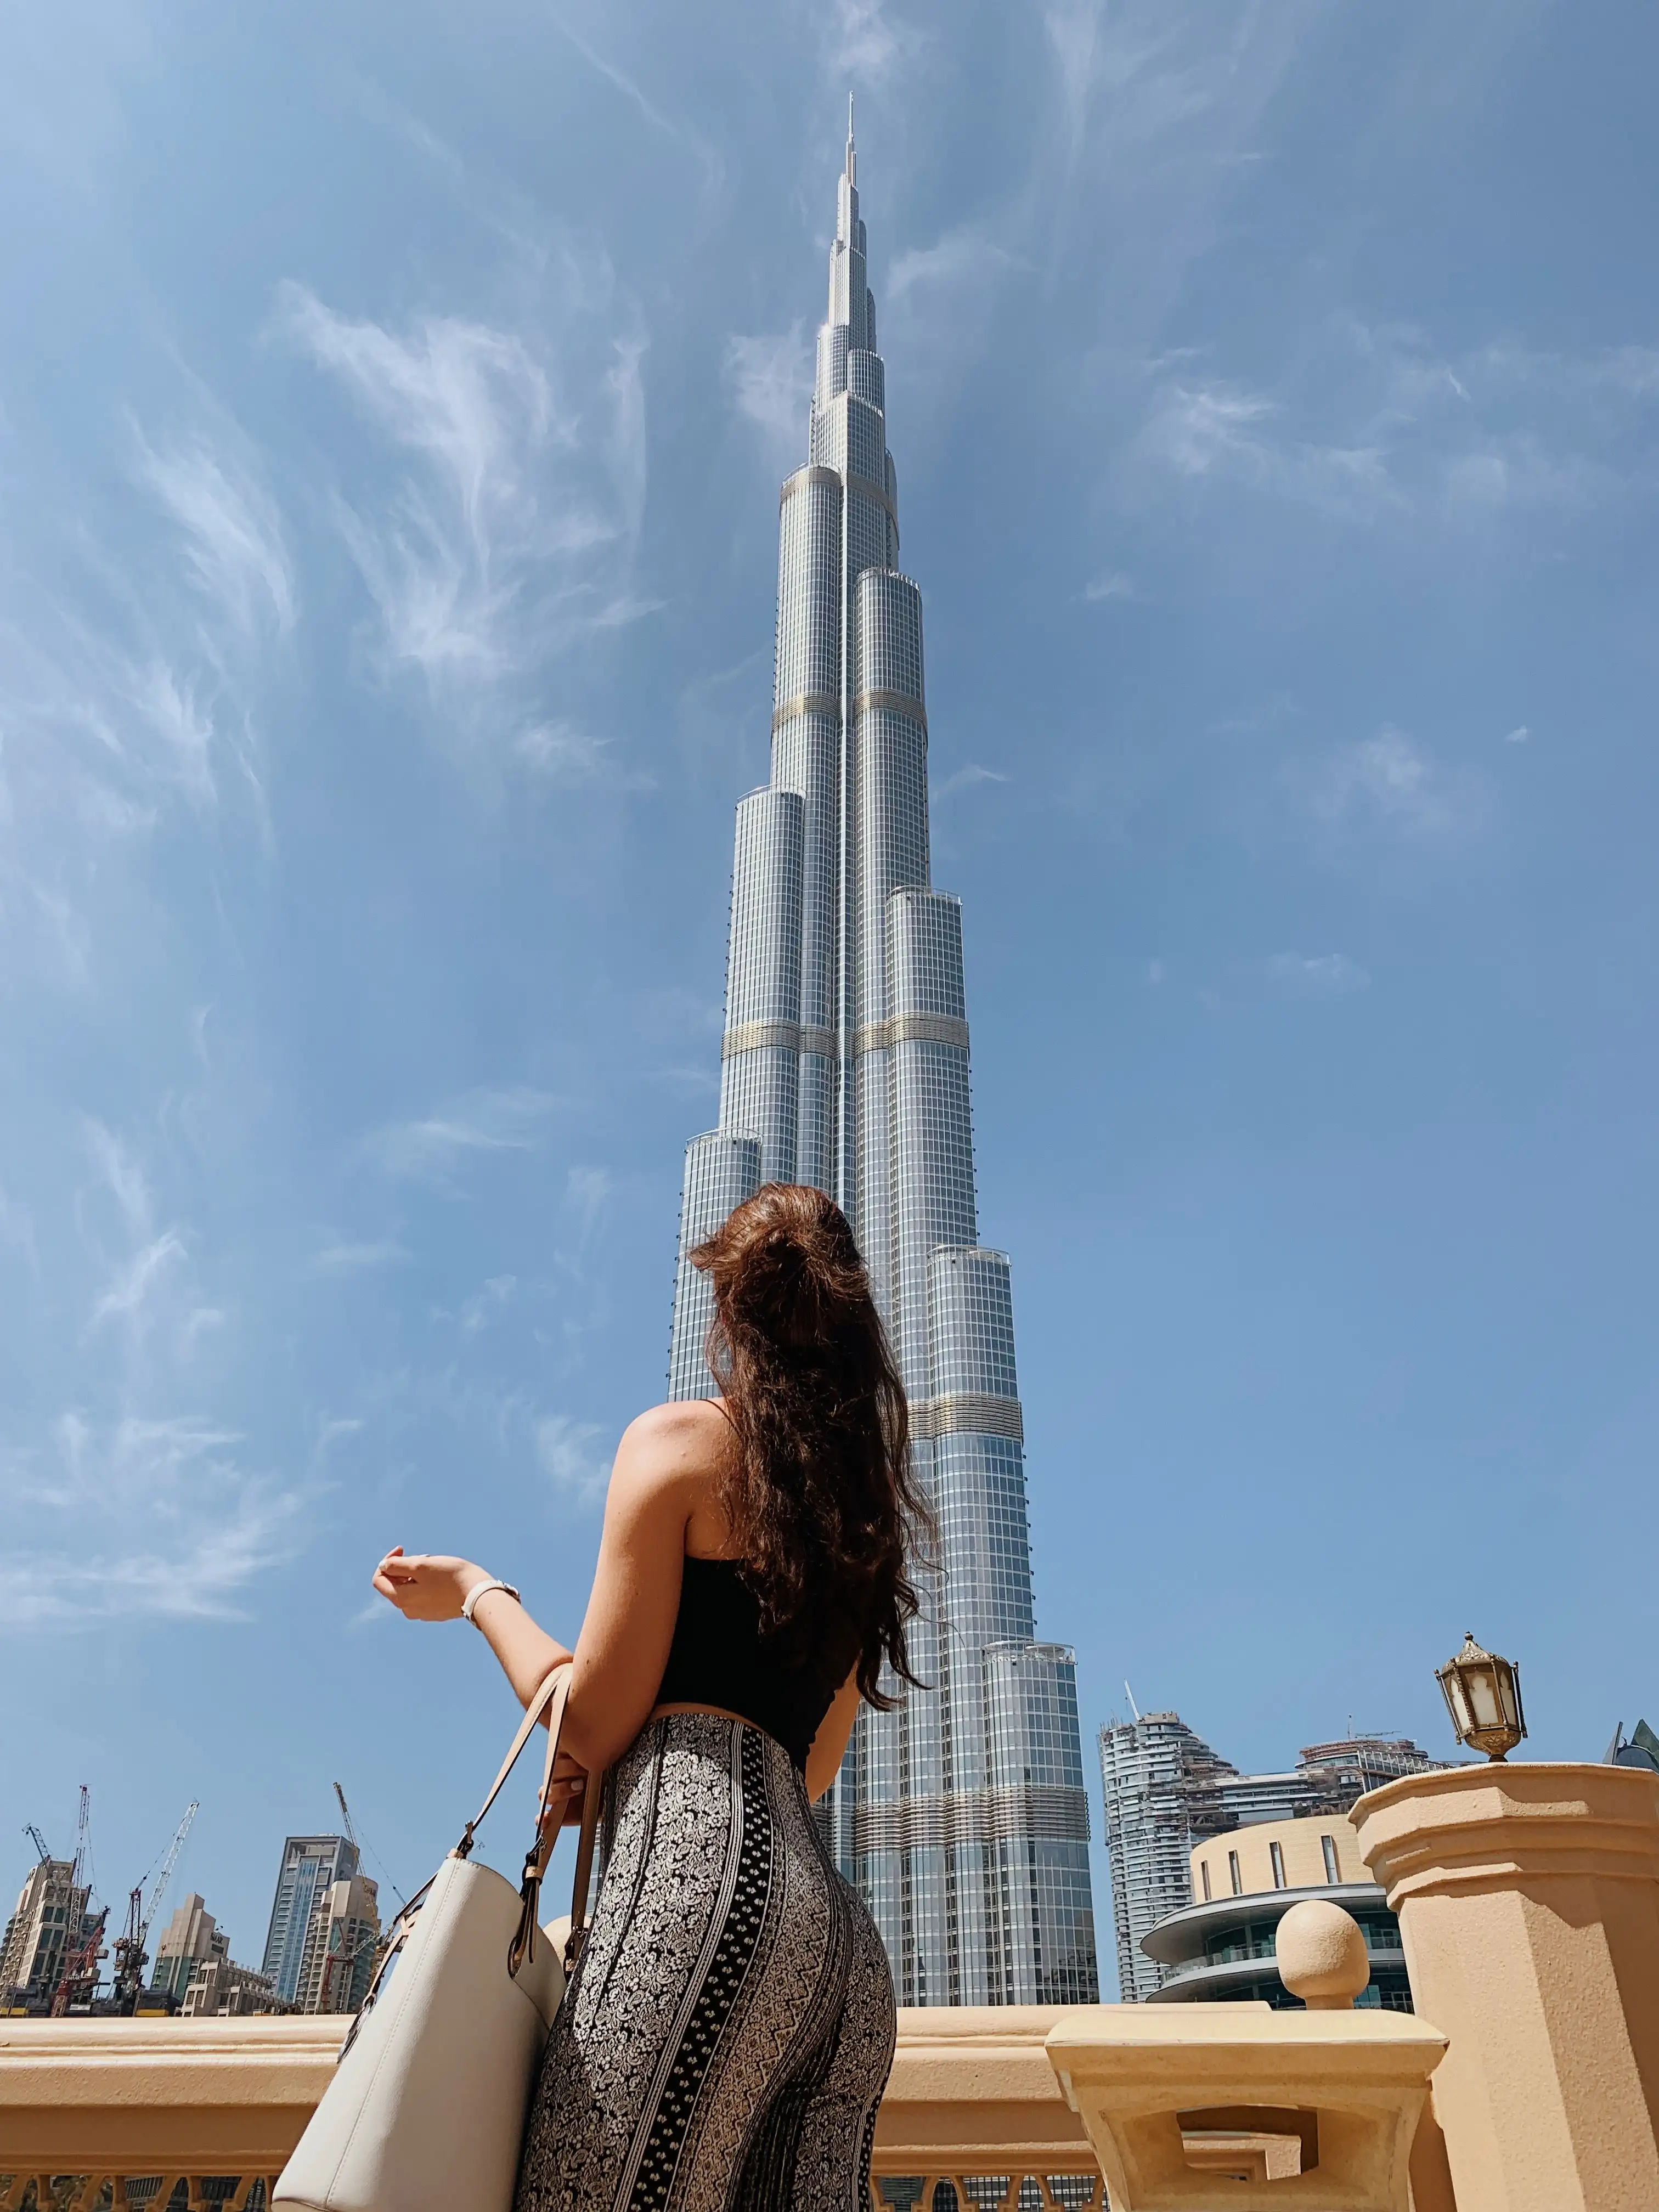
Introduction to Ground-Level Burj Khalifa Photography
Standing at a staggering 828 meters, the Burj Khalifa dominates the Dubai skyline, presenting a unique challenge and thrill for photographers shooting from the ground. While many visitors rush to the observation decks, capturing this architectural marvel from street level offers dramatic perspective lines, creative foreground framing, and dynamic reflections that aerial shots simply cannot replicate. Whether you are wielding a professional DSLR, a mirrorless setup, or a modern smartphone, ground-level photography demands careful planning around towering vertical geometry, harsh desert light, and bustling crowds.
Achieving breathtaking results requires more than just pointing your camera upward and pressing the shutter. You need to understand how wide-angle distortion warps structural lines, how reflective glass panels react to the midday sun, and where to find the absolute best public viewpoints across Downtown Dubai. By mastering these foundational elements, you can transform a standard tourist snapshot into a striking fine-art architectural photograph.
Troubleshooting Lab: Diagnosing Ground-Level Burj Khalifa Photo Failures
When shooting a massive skyscraper from street level, various optical and environmental obstacles can ruin an otherwise promising image. Pinpointing the exact cause of your photographic failure is the first step toward corrective action.
| Visual Symptom | Primary Cause | Corrective Action |
|---|---|---|
| Severe tapering and tilted vertical lines | Camera tilted upward without perspective correction | Step back, level the camera, and crop later, or use a tilt-shift lens. |
| Blown-out highlights on metal cladding | Shooting during harsh midday direct sunlight | Use a circular polarizer or shoot during the golden hour. |
| Soft, blurry details in low light | Slow shutter speed combined with handhold shake | Mount the camera on a sturdy tripod and use a remote shutter release. |
| Obstructed views by trees or lampposts | Poor positioning and restricted walking paths | Relocate to open plazas or elevated public walkways. |
Symptom: Severe Keystone Distortion in Vertical Composition
When you tilt your camera up to frame the entire height of the Burj Khalifa, the parallel lines of the tower converge dramatically, making the structure look like it is falling backward. This optical phenomenon is known as keystone distortion or perspective convergence, which instantly drains professional polish from your architectural portfolio.
- Move significantly further away from the base of the tower to reduce the required upward tilt angle.
- Keep your camera sensor strictly parallel to the ground rather than pointing skyward at an extreme angle.
- Shoot in RAW format with a wider focal length to capture extra peripheral space for later software correction.
- Open your editing software and apply automated vertical perspective correction tools to straighten the outer edges.
- Crop the resulting image carefully to remove empty peripheral borders while preserving maximum resolution.
- Check your camera's electronic grid display to ensure horizontal and vertical alignment before taking the shot.
- Verify that your horizon line is perfectly flat even when composing heavily vertical elements.
- Test different focal lengths to find the sweet spot where distortion is minimized without losing structural grandeur.
Symptom: Blown Highlights and Washed-Out Glass Cladding
The exterior of the Burj Khalifa consists of reflective glass and polished stainless steel panels that bounce intense sunlight in every direction. During peak daylight hours, these reflective surfaces create blinding hotspots and completely blow out the tonal range of your photographs.
- Cease shooting completely between 11:00 AM and 3:00 PM when the overhead sun is at its most ferocious and unforgiving intensity.
- Attach a high-quality circular polarizer filter to your lens to cut down unwanted surface glare and deepen blue sky tones.
- Switch your camera metering mode from evaluative to spot metering, targeting the brightest reflection to protect highlight data.
- Underexpose your raw capture slightly by one-third to two-thirds of a stop to preserve shadow and highlight details.
- Combine multiple exposures using HDR blending techniques if you must shoot in high-contrast daytime conditions.
- Inspect your camera histogram immediately after test shots to confirm that the highlight graph is not clipping against the right wall.
- Verify that shadow areas retain enough texture to lift during post-processing without introducing excessive digital noise.
- Test various polarizer rotation angles until the glare on the steel panels visibly diminishes through your viewfinder.
Symptom: Motion Blur and Soft Focus During Night Fountain Shows
Photographing the Burj Khalifa at night while incorporating the famous Dubai Fountain water choreography introduces severe shutter speed challenges. Dim ambient light combined with fast-moving water often results in muddy, indistinct images plagued by motion blur.
- Secure your camera firmly onto a heavy-duty tripod to eliminate micro-vibrations during extended exposure times.
- Switch your lens and camera body into manual focus mode to prevent the autofocus system from hunting in low-light conditions.
- Set your aperture to a moderately sharp sweet spot such as f/8 while boosting your ISO cautiously to maintain workable shutter speeds.
- Utilize a two-second timer or a cable release trigger to prevent shake caused by pressing the physical shutter button.
- Time your exposures carefully to catch the water jets at their peak height before gravity pulls them downward.
- Review your shutter speed settings to ensure they are fast enough to freeze water droplets or slow enough to create intentional silk-like motion.
- Verify that your tripod legs are fully locked and weighted down if gusty winds sweep across the Downtown Dubai plaza.
- Test different white balance presets to accurately capture the vibrant colored architectural lighting illuminating the tower facade.
Symptom: Heavy Crowd Interference and Abrupt Subject Blocking
The public areas surrounding the Burj Lake and Dubai Mall attract massive crowds day and night. Tourists walking directly in front of your lens can instantly ruin clean compositional lines and long-exposure sequences.
- Arrive during the early morning hours before sunrise when public foot traffic across the boardwalks is at an absolute minimum.
- Position your tripod on elevated architectural ledges or stone barriers where pedestrian foot traffic cannot bump into your gear.
- Capture a rapid burst of multiple frames from the exact same tripod position to blend out moving pedestrians later in post-production.
- Engage in polite communication with nearby sightseers who might unknowingly be standing right inside your wide-angle framing zone.
- Utilize a neutral density filter during daytime long exposures to completely blur moving crowds into ghostly, invisible streaks.
- Check your surrounding perimeter continuously to ensure unauthorized individuals are not tampering with unattended tripod setups.
- Verify that your shooting lane remains completely unobstructed across the entire duration of long-exposure timer countdowns.
- Test alternative vantage points across the bridge leading to Souk Al Bahar for cleaner, crowd-free sightlines.
Symptom: Lens Flare and Ghosting Caused by Street Lighting
Night photography around Downtown Dubai means dealing with countless high-intensity LED streetlamps, decorative floodlights, and brilliant retail storefront signage that can cast unsightly internal reflections across your glass elements.
- Attach a deep, dedicated lens hood to physically shield your front glass element from stray off-axis light sources.
- Shift your physical shooting position slightly to place a physical obstruction, such as a tree branch or architectural column, directly over glaring lights.
- Remove any cheap UV or protective filters from your lens stack to eliminate secondary internal ghosting artifacts.
- Clean your front lens element thoroughly with microfibre cloth to remove dust particles that scatter point-source illumination.
- Angle your camera downward or upward just a fraction to force severe light sources completely out of the active frame.
- Examine your test shots closely at 100 percent magnification to check for faint green or purple ghost artifacts near bright lamps.
- Verify that your lens coating is clean and undamaged, preventing exaggerated flare rings from ruining dark sky gradients.
- Test prime lenses over zoom lenses, as primes generally possess fewer internal glass elements and handle point-light sources with greater clarity.
Essential Tools for Ground-Level Architectural Diagnosis
Diagnosing optical and environmental flaws in the field requires a specialized toolkit designed to help you analyze light, geometry, and stability before committing to final shots.
- A professional bubble level or digital virtual horizon tool to maintain straight vertical lines.
- An accurate smartphone light meter app to measure dynamic range between bright sky and shadowed ground.
- A sturdy carbon fiber tripod equipped with a geared head for micro-adjustments in tight urban spaces.
- A complete set of high-transmission circular polarizer and neutral density filters for managing harsh desert glare.
- A high-powered headlamp with a red-light preservation mode for adjusting camera settings safely during deep night shoots.
- A cleaning kit featuring a rocket blower and optical cleaning solution to combat blowing desert dust particles.
Step-by-Step Field Escalation Path for Difficult Shooting Conditions
When basic adjustments fail to resolve framing or lighting challenges around the tower, follow this structured escalation pathway to salvage your architectural photoshoot.
- Stop shooting immediately and review your camera histogram and focus peaking displays to identify the exact technical failure point.
- Relocate at least fifty meters away from your current spot to test an entirely different focal length and perspective angle.
- Strip away all unnecessary lens filters and accessories to rule out optical degradation caused by low-quality glass.
- Switch from automatic exposure bracketing to fully manual exposure settings to lock down consistent lighting values across a sequence.
- Seek out professional security personnel if you encounter tripod restrictions in restricted private zones and politely request designated permit guidelines.
- Abandon the ground-level perspective temporarily and consult resources like the best time to visit Burj Khalifa for sunset and photography to plan an alternative vantage strategy.
- Pack up your gear and transition to a nearby indoor cafe or viewing terrace if severe sandstorms or sudden weather changes compromise safety.
Comprehensive Prevention Checklist for Future Burj Khalifa Shoots
Avoiding future photographic mistakes around the world's tallest building comes down to rigorous preparation, proper gear maintenance, and respecting local environmental conditions.
- Always check local weather reports and air quality indexes before heading out to ensure clear visibility without heavy desert haze.
- Pack spare camera batteries in an internal jacket pocket, as rapid temperature shifts between air-conditioned malls and hot outdoor plazas drain power quickly.
- Secure all neck straps and wrist tethers to your camera gear while shooting over elevated ledges or crowded water basins.
- Review local photography regulations regarding commercial tripod use in Downtown Dubai public spaces to avoid fines or confiscated equipment.
- Format your high-capacity memory cards before every shoot to guarantee adequate storage space for uncompressed RAW files and bracketed sequences.
- Incorporate time for exploration by checking out guides like how long a visit to Burj Khalifa usually takes to streamline your daily itinerary without rushing your shots.
- Keep your sensor clean by conducting routine dust checks against a bright white background after exposure to dusty outdoor environments.
Ground-level photography of the Burj Khalifa is not merely about pointing upward at a tall structure; it is an exercise in geometric discipline, environmental patience, and tactical light management.
By treating every architectural challenge as a solvable diagnostic puzzle, you elevate your technical skills far beyond casual snapshot capture. Remember that patience yields the greatest rewards, especially when transitioning from harsh daytime glare into the magical neon glow of the Dubai evening skyline.